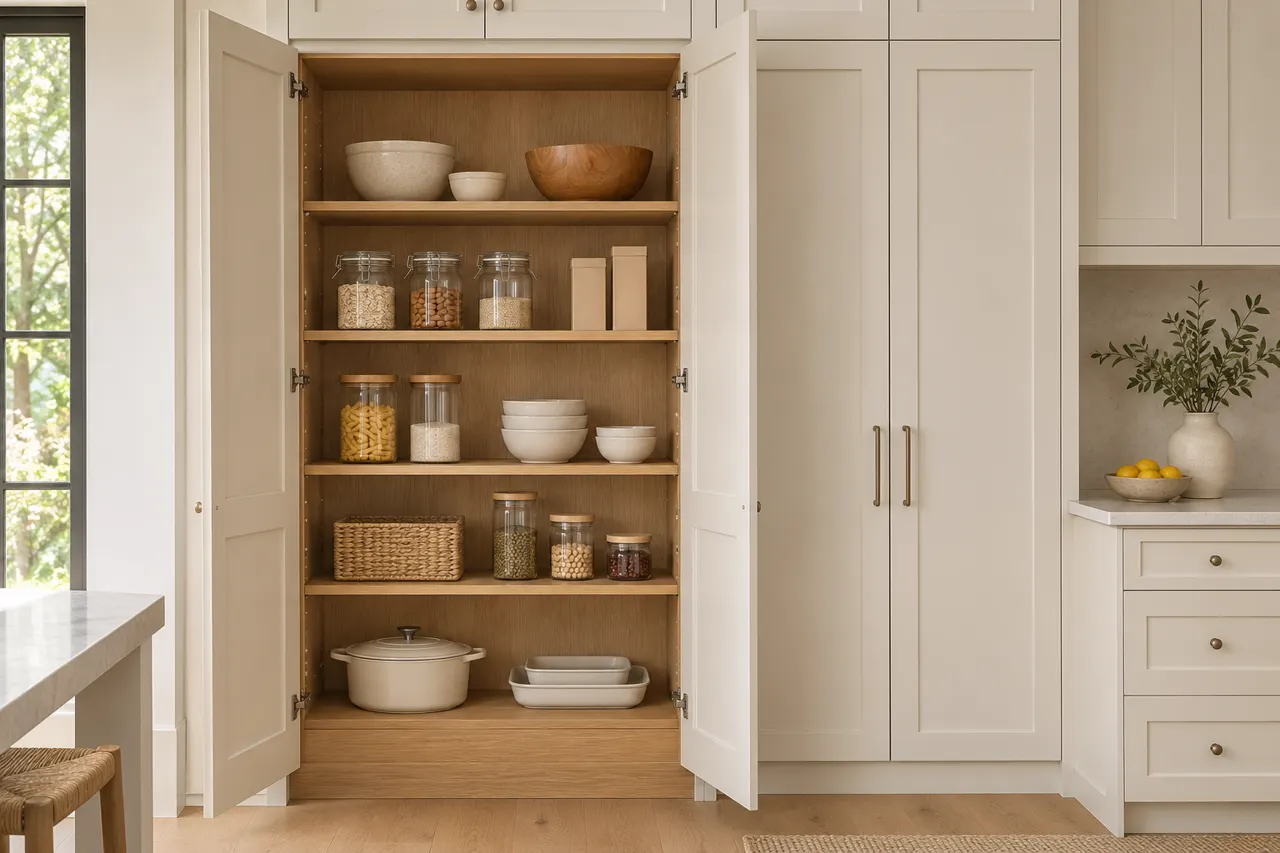
Follow the food preparation groups
A pantry can be organized around breakfast, baking or regular meal preparation. Describe those groups before allocating shelves.
Follow a familiar routine such as making breakfast or preparing a baking recipe. Identify the ingredients used together and the surface where they are measured. That sequence gives the pantry layout a more useful basis than grouping every package only by its shape or height.
- Routine: Name the preparation task.
- Ingredients: List the supplies it uses.
- Return: Discuss where opened packages go back.
Grouping by package size and grouping by use lead to different arrangements. Compare both when deciding which contents should stay together. State the food groups that the pantry layout is intended to support.
Separate active ingredients from reserve stock
Opened everyday ingredients and bulk replacements do not need identical access. Divide those groups before assigning the pantry shelves.
Describe how groceries are put away as well as how ingredients are retrieved. A clear place for replacement stock helps distinguish an unopened package from one already in use. Compare that replenishment routine with the proposed shelf arrangement before choosing extra storage simply to accommodate unsorted overflow.
- Daily food: List ingredients used frequently.
- Reserve: Identify unopened replacement stock.
- Replenishment: Discuss how supplies are put away.
Keeping all stock together is simple to describe but can hide what is already open. An intentional division can make the contents easier to review. Show the active and reserve storage positions in the pantry brief.
Keep serving pieces apart from groceries
Occasional platters and serving bowls place different demands on a pantry from everyday ingredients. Give those contents their own brief.
A platter may need a wider usable opening than the groceries stored alongside it. Separate those requirements in the pantry request. Occasional serving pieces can share a cabinet wall with food storage, but their compartment should not be an accidental gap left after the smaller shelves are assigned.
- Pieces: Measure the larger serving items.
- Frequency: Describe how often they are used.
- Access: Check the removal route.
A tall pantry can hold both groups with a deliberate division. Avoid forcing wide serving pieces into openings chosen for small food packages. Identify the compartments intended for serving pieces in the cabinet schedule.
Choose shelf depth from the food packages
Short jars and larger containers need different visibility and removal space. Compare their dimensions before repeating one depth through a tall pantry unit.
Try the shelf arrangement with a short jar, a cereal container and the largest reserve package you regularly buy. These objects reveal different visibility problems. A deeper cabinet can hold more volume while leaving everyday ingredients harder to identify, especially when smaller packages migrate behind taller ones.
- Packages: Measure representative containers.
- Visibility: Check which items disappear at the back.
- Access: Review how the contents are removed.
Deeper shelving adds volume but may hide smaller packages. A mix of depths can be worth discussing where the cabinet construction allows it. Identify the proposed pantry depths and intended food groups.
Keep utility products out of an undivided food brief
Identify non-food supplies that currently occupy pantry space. They may need their own storage arrangement and product-specific handling.
List cleaning products and other non-food items separately from groceries. Follow their actual storage directions when discussing where they belong. Replacing a pantry is an opportunity to define those boundaries, rather than using extra shelving to keep every household supply in one undivided cupboard.
- Food: List the grocery contents.
- Other supplies: Identify non-food items.
- Directions: Follow the instructions for the actual household products.
A pantry label should not become a reason to mix every supply on one shelf. Give the different contents intentional positions. Distinguish food compartments from any separate utility storage in the project brief.
Compare shelves with pantry pull-outs
A pull-out brings contents forward but uses hardware and space differently from an ordinary shelf. Compare the two using the same grocery groups.
Compare the proposed pull-out with an ordinary shelf using the same grocery inventory. Note how much usable space the mechanism occupies and what moves together. Request the named hardware, its intended application and the complete cabinet arrangement rather than choosing an accessory solely because it appears in a demonstration.
- Contents: Name the packages to be stored.
- Movement: Review the pull-out travel.
- Product: Request the actual fitting specification.
A pull-out is useful when its accessible contents justify the proposed arrangement. It is not an automatic improvement in every pantry bay. List pull-out products and quantities separately from ordinary shelving.